Some of the links in this post are affiliate links. That means if you click and buy something, I'll earn a small commission, but don't worry it is at no extra cost to you. :)
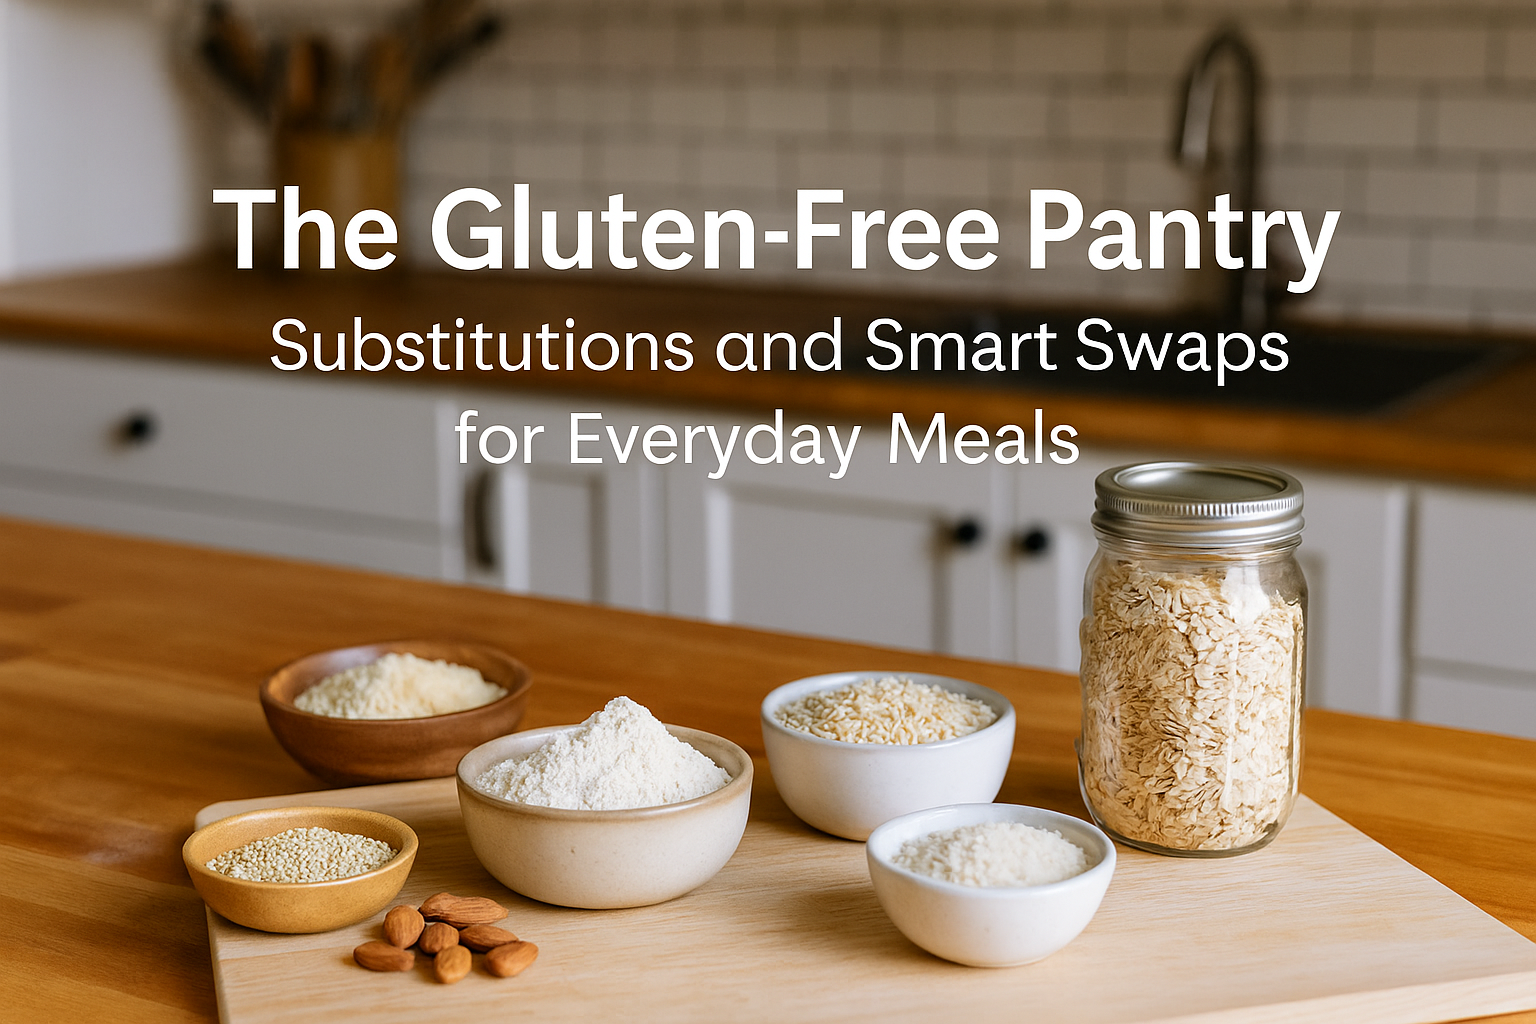
Gluten-free bread can be healthy, comforting, and cost-effective—but only if it turns out right. If you’ve ever pulled a dense or gummy loaf out of your bread machine, you’re not alone. Baking without wheat-based structure is tricky, and most machines aren’t built for it.
That doesn’t mean you need to give up homemade bread. You just need the right blend—and a few helpful tips.
This blog post breaks down what makes a gluten-free flour blend work (or fail) in a bread machine. We’ll look at the best store-bought options, a simple DIY blend, and what ingredients to avoid.
Whether you’re cooking for a wheat-free diet or just want fewer additives and more control over what goes into your bread, this will help. Let’s start with why bread machines struggle with alternative doughs in the first place.
Contents
- 1 Why Gluten-Free Flour Bread Is Tricky in a Bread Machine
- 2 What Makes a Gluten-Free Flour Blend “Bread Machine Friendly”?
- 3 Top Premade Gluten-Free Flour Blends for Bread Machines
- 4 DIY Grain-Free Bread Machine Flour Blend
- 5 What to Avoid in Gluten-Free Flour Bread Blends
- 6 Tips for Success with Gluten-Free Flour Bread Machines
Why Gluten-Free Flour Bread Is Tricky in a Bread Machine
Making bread with gluten-free flour sounds simple. Just swap the flour, right? But if you’ve ever tried using a bread machine for it, you know it’s not that easy.
Most bread machines are built for wheat flour. Wheat has gluten, which acts like a net. It holds air inside the dough, helping the bread rise and stay soft. But grain-free flours don’t have that built-in stretch. That’s where the trouble starts.
Without gluten, your bread needs help from other ingredients, like psyllium husk, xanthan gum, or ground flax. These are called binders. They give structure and hold things together during mixing and baking. Without them, your loaf may rise too fast, fall flat, or become a gummy mess.
The flour texture matters too. A gritty rice flour or bean flour can throw things off. These soak up water unevenly, which can mess with how the bread bakes. You might see soggy spots or dry pockets, and your bread won’t be soft in the middle.
Starch plays a role as well. Blends with too much tapioca or potato starch can feel heavy or sticky. Bread machines don’t always adjust well to that kind of dough, especially since they follow set mixing and rising times.
That’s why baking without gluten often needs a different approach. The good news? You don’t need to give up on your bread machine. You just need the right flour blend to make it work.
Up next, let’s look at what makes a gluten-free flour blend bread machine-friendly—and why a few small changes can make a big difference.
What Makes a Gluten-Free Flour Blend “Bread Machine Friendly”?
Not all gluten-free flour blends work well in a bread machine. Some are made for cookies or pancakes—not for rising, kneading, and baking a loaf. If your bread keeps turning out flat or heavy, your flour might be the reason.
A good bread machine blend needs three things: fine texture, balanced ingredients, and a strong binder. Let’s break that down.
First, look for a finely milled blend. Coarse flours can cause dry spots and uneven baking. A smoother flour mixes better and helps your loaf hold together from start to finish.
Next, you want the right balance between whole grain flours and starches. A good rule is about 60–70% flour (like sorghum, oat, or millet) and 30–40% starch (like potato or tapioca). Too much starch makes bread sticky and dense. Not enough, and the loaf might be dry or crumbly.
The third key is a binder. This replaces the job of gluten. Look for blends that include xanthan gum, psyllium husk, or ground flax. Without one, the dough won’t stretch or hold its shape—especially in a bread machine that follows set times and temperatures.
Some store-bought blends skip binders so you can add your own. That’s okay, but be sure to check the label. If it doesn’t say anything about xanthan or psyllium, you’ll need to mix it in yourself. About 1 teaspoon per cup of flour is a good place to start.
So if you’re wondering why your loaf isn’t rising or holding together, check your blend. The right one makes a big difference—especially when your machine is doing all the work.
Up next, we’ll look at the top gluten-free flour blends that do work in bread machines, so you can skip the trial and error and get straight to baking better bread.
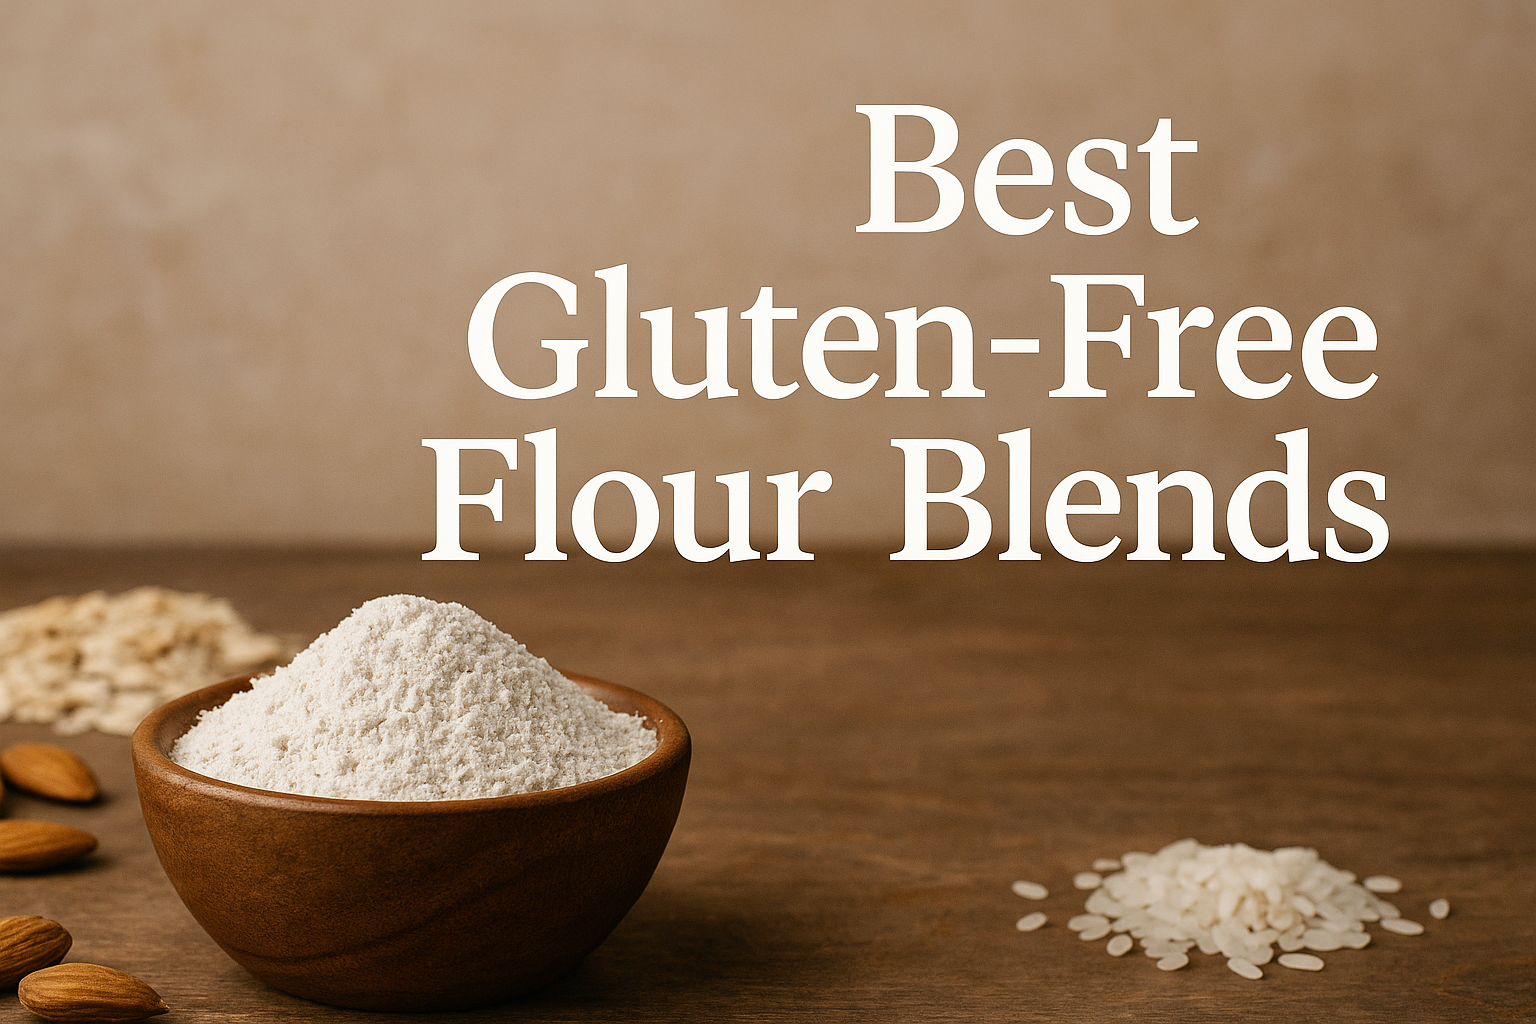
Top Premade Gluten-Free Flour Blends for Bread Machines
Finding the right gluten-free flour blend for your bread machine can feel overwhelming. Some blends work beautifully and give you a soft, sliceable loaf. Others turn into a sticky mess or fall flat halfway through baking. You don’t need to test a dozen brands to find what works—we’ve done the research so you don’t have to.
A good gluten-free flour blend for bread should be finely ground, have a balanced mix of whole grains and starches, and include a binder like xanthan gum or psyllium husk.
These blends take the guesswork out of this type of baking and work well with most bread machine cycles.
Below are four solid options that show up again and again in your baking success stories.
- King Arthur Gluten-Free All-Purpose Flour This is one of the most trusted blends for gluten-free flour bread makers. It has a fine texture that mixes well and doesn’t leave a gritty feel. It doesn’t include xanthan gum, so you’ll need to add that in separately (about 1 teaspoon per cup of flour). It’s a great pick if you like customizing your loaves with seeds or spices.
- Bob’s Red Mill Gluten-Free 1-to-1 Baking Flour This one works for many gluten-free flour bread recipes, especially soft sandwich loaves. The mix already includes xanthan gum, which saves a step. However, the texture leans slightly soft, so if your machine tends to underbake, consider increasing the bake time a little if your model allows it.
- Cup4Cup Multipurpose Flour is known for producing very soft, fluffy bread with a nice rise. It’s especially good for white sandwich bread or dinner rolls. It does contain milk powder, so it’s not dairy-free, but it’s a good option for those who can tolerate dairy and want a smooth, bakery-style texture.
- Namaste Organic Gluten-Free Bread Mix This one is a little different—it’s a mix, not a base flour blend. That means it includes leaveners, a binder, and sometimes seasoning. It’s great when you want a quick win without too much measuring. Just be sure to follow the instructions exactly. It’s not as flexible for adding extras or changing ingredients, but it’s reliable for busy weeknights or batch baking.
These flour blends take a lot of the trial and error out of grain-free baking. Whether you’re looking for a classic sandwich loaf or something you can tweak and customize, each of these can be a strong base for your next bake.
Next, let’s walk through a simple DIY gluten-free flour blend you can make at home. It gives you full control over ingredients and works great in bread machines once you get the ratios right.
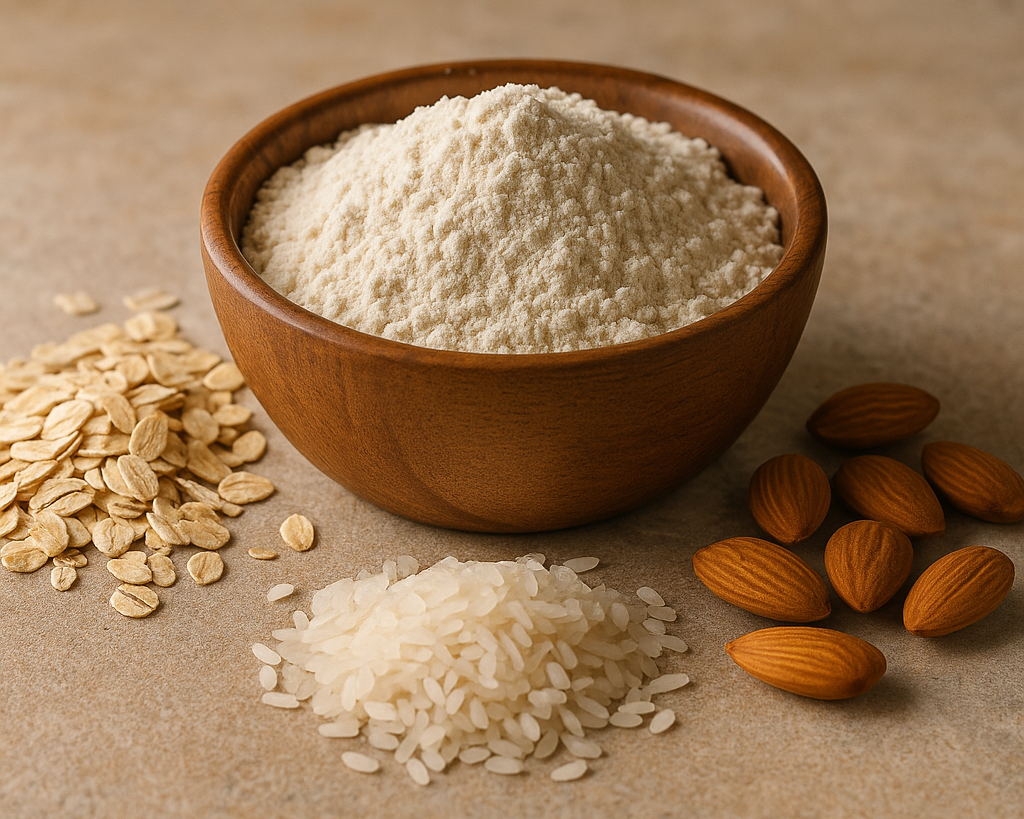
DIY Grain-Free Bread Machine Flour Blend
If you want more control over the ingredients you use, making your own flour blend at home is a smart move. A custom mix lets you skip anything that doesn’t work for your body, keep the ingredient list simple, and adjust the texture and nutrition to match your goals.
Here’s an easy gluten-free flour blend to try that works well in most bread machines:
1 cup sorghum flour
1 cup oat flour
1 1/2 cups potato starch
1 cup tapioca starch
1 tablespoon psyllium husk (or 1 1/2 teaspoons xanthan gum)
This blend gives you structure, softness, and a nice balance of flavor. Sorghum and oat add a mild, nutty base. Potato and tapioca starch help lighten the dough, and the binder gives it the stretch and hold it needs.
Want to switch things up? Swap the oat flour for millet, quinoa, or brown rice flour. Just be sure to test small batches first. And always store your mix in an airtight container to keep it fresh.
Once your blend is ready, just measure it out by weight or volume like any premade flour and follow your favorite recipe.
Now that you know how to make your own blend, let’s go over what to avoid so you don’t waste ingredients or end up with a heavy loaf.
What to Avoid in Gluten-Free Flour Bread Blends
When it comes to grain-free bread, the right blend makes all the difference. But just as some blends help your bread rise and stay soft, others can make it heavy, sticky, or fall apart. If you’ve ever ended up with a loaf that didn’t bake right, chances are one of these ingredients—or the wrong ratio—was the problem.
Let’s start with texture. If your blend includes coarse flours, like gritty rice flour or whole bean flour, skip it. These don’t absorb water evenly and can cause rough texture or uneven baking. A finely milled flour will give you smoother dough and a better crumb.
Too much starch is another common issue. While potato or tapioca starch is helpful in moderation, some blends go overboard. This can make the loaf dense, sticky, or feel undercooked in the middle—even when the outside looks perfect.
One of the biggest mistakes? Using a gluten-free flour blend with no binder. If it doesn’t contain xanthan gum, psyllium husk, or another structure-building ingredient, your dough may rise and collapse—or never rise at all. In a bread machine, that can leave you with a flat, sunken loaf.
Also be careful with coconut flour. While it’s popular in low-carb baking, coconut flour absorbs a lot of moisture and can throw off your dough if it’s not carefully balanced. It’s best used in small amounts—not as a base.
Here’s a quick list of what to avoid:
- Gritty or coarse flour blends
- Blends with no binder listed
- High-starch mixes without whole grains
- Coconut flour as the main ingredient
If a blend gives poor results once, try adjusting bake time or adding a binder. But if it fails more than once, don’t waste more ingredients—just move on.
Next, let’s go over a few tips to make grain-free baking easier and more consistent, especially when you’re using a bread machine.
Tips for Success with Gluten-Free Flour Bread Machines
Making bread without traditional wheat proteins in a bread machine takes a little extra care, but once you get the hang of it, it’s smooth sailing. Here are some practical tips to help your next loaf rise, bake, and slice the way you want.
- Use the right cycle – Many bread machines have a grain-free setting. Use it if it’s available. It shortens the mixing and rising times, which helps prevent overworked or collapsed dough.
- Scrape down the sides – During the first mix cycle, check the dough and scrape down any dry spots from the corners. Wheat-free batters don’t always mix evenly like traditional doughs.
- Watch the consistency – The dough should look more like a thick batter than a firm ball. If it’s too dry, add water one tablespoon at a time until it smooths out.
- Let it cool completely – Grain-free bread needs time to firm up after baking. If you slice it too early, it may seem gummy inside.
- Store it right – Homemade loaves don’t have preservatives, so slice and freeze anything you won’t eat within two days. Toast slices straight from the freezer for best texture.
- Weigh your ingredients – Volume can be inconsistent. Using a digital scale helps you get the same results every time.
Even small tweaks can make a big difference in how your loaf turns out. Try one or two of these tips next time and keep notes to see what works best with your machine and flour blend.
Now let’s wrap things up with a few final thoughts and optional questions you might still have.
Even small tweaks can make a big difference in how your loaf turns out. Try one or two of these tips next time and keep notes to see what works best with your machine and flour blend.
Final Thoughts
Homemade wheat-free bread can be just as satisfying as traditional loaves—with the right flour blend, a good machine, and a few smart tweaks. Once you dial in the texture and ingredients, you’ll have a go-to recipe that works every time.
If you’re still shopping for a bread machine or thinking about upgrading, check out our full review of the best bread machines for wheat-free baking. We break down the top models, must-have features, and which ones handle dense doughs best.
→ Read our gluten-free flour bread machine buyer’s guide here
Ready to take the next step?
Get baking—and enjoy the smell of fresh, homemade bread made exactly the way you want it.
~April
P.S. If you’d like to see what allergy-friendly ingredients you should have in your pantry – check out this BLOG POST HERE.