• Top 6 Healthy Green Juice Ingredients

    If you’re focused on eating healthier, chances are you’ve already thought about juicing and healthy green juice ingredients. And when it comes to nutrition, leafy greens are some of the most powerful ingredients you can add to the mix.

    They’re packed with vitamins, minerals, and antioxidants—but only if your juicer can actually extract them well.

    That’s where slow juicers (also called cold press or masticating juicers) really shine.
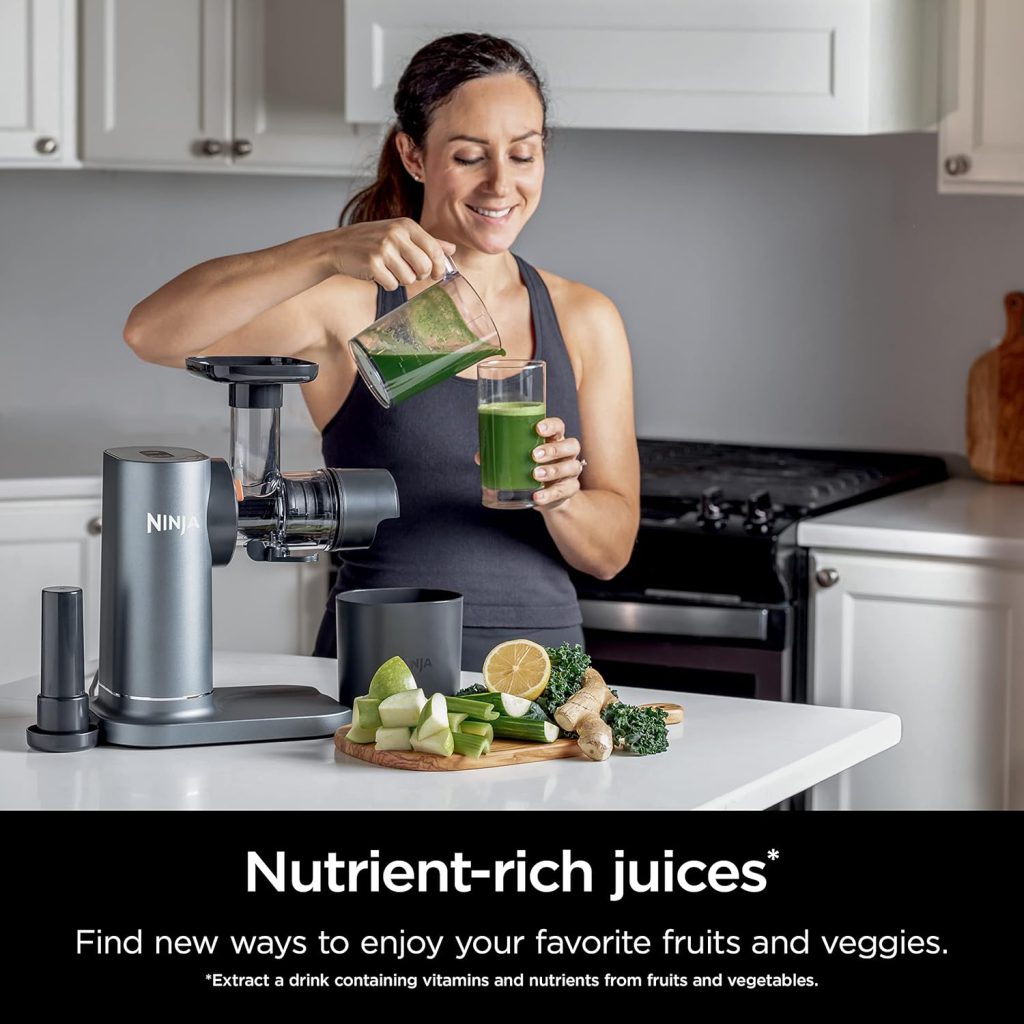
    Healthy Green Juice Ingredients

    Unlike high-speed models that create heat and foam, slow juicers gently crush and press produce—especially leafy greens—so you end up with more juice, better flavor, and less waste.

    If you’re still in the research phase and haven’t picked a juicer yet, you’ll want to start with this guide to quiet slow juicers for leafy greens. It breaks down which models actually work well without sounding like a blender on overdrive.

    In this post, we’re shifting focus from the machine to the healthy green juice ingredients—because not all leafy vegetables are created equal when it comes to juicing. You’ll learn which ones are nutrient-dense, which pair well together, and how to mix things up so you don’t get bored (or overload on one type).

    Let’s take a look.

    Kale – The Nutrient Powerhouse

    Kale is one of those greens that gets a lot of hype—and for good reason. It’s loaded with vitamin K, vitamin C, and antioxidants that can support everything from bone health to immune function. If you’re looking to boost the overall nutrition of your juice, this is a solid go-to.

    That said, kale isn’t exactly subtle. The flavor can come off bitter or “earthy,” especially if you toss in a large handful. A good trick is to pair it with something crisp and slightly sweet—like green apple, cucumber, or even a splash of lemon—to balance things out.

    It’s also a strong green in terms of texture, so a little goes a long way. Try mixing it in with other greens or rotating it into your weekly routine instead of using it every day. That way, you keep the variety (and avoid burnout).

    Spinach – Gentle and Versatile

    Spinach is one of the easiest greens to juice, especially if you’re just getting started. It has a mild flavor that won’t take over your blend, and it plays well with almost anything—carrots, apples, berries, you name it. It’s also gentle on the digestive system, which makes it a great everyday option.

    Nutritionally, spinach brings a solid dose of iron, folate, and vitamin A to the table—especially helpful if you’re trying to support energy levels or fill in some gaps in your diet.

    One thing to keep in mind: spinach is higher in oxalates, which can be an issue for people with kidney concerns. You don’t need to cut it out completely, but it’s smart to rotate it with other greens and not rely on it as your only base.

    Wheatgrass – Detox Favorite

    Wheatgrass has built a reputation as a go-to for “green shots,” and while some of the claims can get a little overhyped, there’s no denying it’s packed with chlorophyll and nutrients. Many people use it to support digestion, energy, or gentle detox—especially in small, concentrated amounts.

    It’s not the kind of green you throw in by the handful. Wheatgrass is fibrous and very potent, so a little goes a long way. Think of it as a booster, not a base. Most juicers can handle small amounts of it, especially masticating models that are built for tougher greens.

    Bonus: it’s one of the easiest things to grow at home on a windowsill or countertop. If you’re into DIY kitchen wellness, it’s a great one to try.

    Parsley – More Than a Garnish

    Parsley doesn’t always get the spotlight, but it absolutely deserves a place in your juicing routine. It’s rich in vitamin C and has natural diuretic properties, which some people use to support kidney function and reduce water retention. Bonus: it also helps freshen breath, thanks to its high chlorophyll content.

    That said, parsley has a bold, slightly peppery flavor—so you don’t need much. Just a few sprigs can go a long way in a juice. It pairs especially well with citrus like lemon or orange, which helps mellow out the intensity and bring a refreshing twist.

    Because of its strength and diuretic effect, it’s best used occasionally and in small amounts—not as a daily base green. Think of it as a bright accent, not the main ingredient.

    Swiss Chard – Colorful and Nutrient-Rich

    Swiss chard is one of those underrated greens that quietly delivers big benefits. It’s loaded with magnesium, potassium, and vitamins A and E—nutrients that support everything from heart health to skin and muscle function. And with its vibrant red, yellow, or white stems, it brings some visual flair to your juice lineup too.

    The flavor is mild but slightly salty, which can be a nice contrast to sweeter ingredients. It pairs especially well with beet, apple, or lemon to create a balanced, earthy blend.

    Like spinach, chard is higher in oxalates, so it’s best to rotate it with other greens rather than using it daily. If you’re mixing things up throughout the week, it’s a great one to keep in the rotation.

    Dandelion Greens – The Hidden Gut Hero

    Dandelion greens might not be the first thing you think to juice, but they’re a quiet powerhouse—especially when it comes to digestion and liver support. Traditionally used in herbal wellness routines, these greens are thought to help stimulate bile flow and support natural detox pathways.

    The flavor? Definitely on the bitter side. But that’s not a bad thing—bitter foods can be great for digestion. To make the taste more palatable, pair dandelion greens with naturally sweet produce like pear, carrot, or even a splash of pineapple.

    If you’re buying them fresh, go for organic when possible. You can also forage them, but only if you’re absolutely sure they’re from a clean, pesticide-free area. These are strong greens, so start with small amounts and work your way up.

    Quick Chart: Nutritional Highlights Healthy Green Juice Ingredients

    Leafy GreenKey NutrientsBest PairingsNotes
    KaleVitamin K, Vitamin C, CalciumApple, CucumberStrong, earthy flavor; use in small amounts
    SpinachIron, Folate, Vitamin APineapple, LemonMild and versatile; high in oxalates
    WheatgrassChlorophyll, Vitamin EGinger, LemonPotent and fibrous; use in small shots
    ParsleyVitamin C, AntioxidantsLemon, OrangeBold, peppery flavor; natural diuretic
    Swiss ChardMagnesium, Potassium, Vitamins A & EBeet, LemonSlightly salty; rotate due to oxalates
    Dandelion GreensVitamin K, Iron, Bitter compoundsPear, CarrotBitter but gut-friendly; go organic when possible

    Rotating Your Greens for Variety & Safety

    It’s easy to fall into a routine with juicing—grab the same greens every week, toss them in, done. But over time, using the same leafy vegetables day after day can backfire. Why? Two main reasons: oxalates and gut diversity.

    Some greens like spinach and Swiss chard are high in oxalates, natural compounds that can build up in the body and potentially affect kidney health if overconsumed. It’s not about avoiding these greens entirely—it’s about not relying on them every single day.

    The other reason to rotate is for your gut. Different plants feed different beneficial bacteria, and variety helps support a more balanced, resilient microbiome. So even if your go-to green feels safe and easy, mixing things up can have bigger benefits over time.

    So how often should you rotate? A simple rule: switch your main greens every 3–5 days, or plan weekly cycles (like spinach one week, kale the next). You don’t need to make it complicated—just keep an eye on your habits.

    And always pay attention to how your body feels. If something tastes off, feels too intense, or affects digestion, try scaling back or swapping it out for a few days. Juicing should support your health—not stress your system.

    Bonus: 3 Green Juice Combos You’ll Actually Crave

    You don’t need complicated recipes or exotic ingredients to make a green juice you’ll actually want to drink. These three combos are simple, well-balanced, and built around the greens we’ve covered—so you get the benefits without the bitter surprise.

    🍏 Easy Energy Boost
    Spinach, green apple, celery, lemon
    Light, crisp, and perfect for mornings when you need a lift. The apple adds a touch of sweetness, and the lemon brightens everything up.

    🍐 Liver Love
    Dandelion, cucumber, pear, ginger
    A gentle detox combo that doesn’t taste like one. Pear smooths out the dandelion’s bitterness, and ginger gives it just the right amount of zing.

    🌿 Calm & Clear
    Kale, parsley, cucumber, mint
    This one’s refreshing and grounding—great for stressy afternoons or post-workout hydration. Mint cools it down and cuts the intensity of the greens.

    Each blend can be tweaked to your taste or what’s in your fridge. Try one this week and see how it fits into your routine.

    Wrap-Up: Know Your Greens Before You Juice

    Juicing isn’t just about having the right appliance—it’s about using the right ingredients in a way that works for your body and your goals. Leafy greens can offer a big nutritional boost, but choosing the right ones (and switching them up) makes all the difference.

    Whether you’re looking to support energy, digestion, or just get more greens in without cooking them, it helps to know what each one brings to the table—and how to make them taste good in the process.

    If you’re still deciding on a juicer, be sure to check out the guide to quiet slow juicers for leafy greens so you can get the best results from every blend.

    And if you found this helpful, go ahead and bookmark the blog or subscribe for more tips on building a healthy, efficient kitchen—one tool (and one habit) at a time.

    ~April

    Check out other blog posts to cook healthier.

  • Dandelion Root: What It Does and Why It Belongs in a Health-Conscious Kitchen

    When you’re setting up a kitchen that supports your health—not just your cravings—some ingredients deserve a second look. Dandelion root is one of them. It might not be a trendy superfood or something you reach for every day, but if you’re already juicing leafy greens or adding herbs to support your digestion, this one’s worth knowing.

    It shows up in teas, tinctures, powders, and supplements, and it’s often tossed into green juice blends—especially those aimed at gentle detox or digestive support. But what does it actually do?

    Let’s break it down.


    Dandelion Root

    What Dandelion Root Supports in the Body

    You don’t need to memorize a bunch of science to understand why people keep this root in their wellness rotation. Here are a few practical reasons it might belong in yours:


    1. It May Help Your Liver Handle Everyday Stress

    Your liver does a lot—filtering toxins, breaking down medications, and managing everything from hormones to blood sugar. Dandelion root has been studied for its ability to help the liver do its job, especially during cold/flu season or when your diet isn’t as clean as you’d like.

    If you’re someone who takes over-the-counter meds regularly (like acetaminophen), adding liver-supporting herbs like dandelion to your routine might help reduce strain over time.

    How to use it: A tea, capsule, or juice blend with dandelion root during times of higher toxin load (e.g. allergy season, after illness, etc.)


    2. It Supports Digestion, Especially Bile Production

    This one sounds weird until you’ve experienced it: dandelion root can stimulate bile production, which plays a big role in breaking down fats and flushing waste from your digestive system.

    That can help with symptoms like:

    • Indigestion
    • Heartburn
    • Bloating
    • General sluggishness after meals

    It’s not a miracle fix—but paired with a whole-foods diet and the right kitchen habits (like juicing or prepping ahead), it can absolutely support your digestive rhythm.


    3. It May Help With Cholesterol and Water Retention

    Dandelion root also works as a natural diuretic, which means it can help reduce water retention and support blood pressure. Some studies suggest it may even help regulate cholesterol levels by encouraging better fat metabolism and increasing HDL (the “good” cholesterol).

    If you’re already watching your sodium, using healthy fats, and cooking at home more often, this is one more gentle support tool for your wellness stack.


    How to Use Dandelion Root in a Kitchen Routine

    You don’t have to turn your kitchen into an herbal apothecary to get the benefits. Dandelion root is surprisingly flexible and available in a few easy-to-use forms:

    • Tea – Great for daily use or gentle digestion support
    • Capsules or tinctures – Good for tracking your dose if you’re supporting a specific concern
    • Powdered or dried – Can be added to smoothies, broths, or homemade herbal blends
    • Juicing – Use fresh dandelion root sparingly in green juices (or pair with dandelion greens if using a masticating juicer)

    Want to try it with a juicer?

    Dandelion pairs well with cucumber, pear, and a bit of lemon or ginger to balance its slightly bitter flavor. (If you’re using a leafy green juicer, you can also juice the greens and get similar digestive benefits.)

    A Quick Note on Safety

    Dandelion root is considered safe for most people, but as with any herb or supplement, it’s smart to start small and listen to your body.

    If you have kidney issues, take medications that affect liver function, or are pregnant/nursing, check with your doctor first.


    Bottom Line: A Small Ingredient That Can Support Big Goals

    If you’re building a health-conscious kitchen, it’s not just about the big appliances and the perfect meal plan. It’s about the small, consistent choices—like keeping a few supportive herbs and ingredients on hand that make it easier to feel your best.

    Dandelion root isn’t flashy, but it fits that role. Whether you’re supporting your liver, digestion, or heart health, it’s a solid addition to your wellness routine.

    ~April

    Looking to start meal prep? Start here: Best High-Speed Blenders for Meal Prep (Not Just Smoothies)

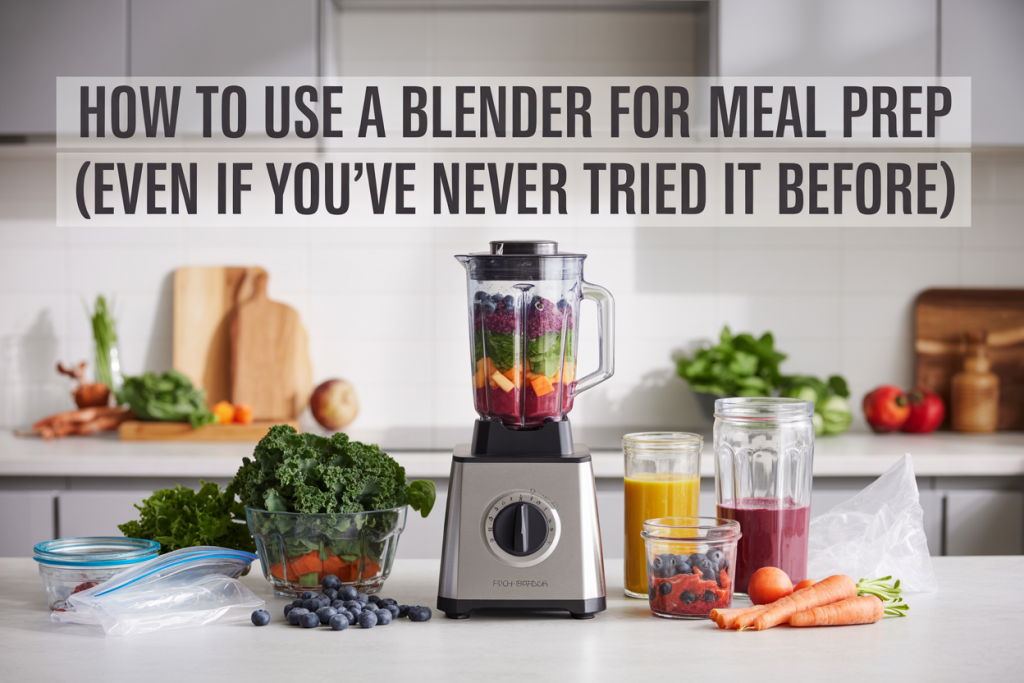
  • How to Use a Blender for Meal Prep (Even If You’ve Never Tried It Before)

    How to Use a Blender for Meal Prep

    If you’ve ever wondered how to use a blender for meal prep, you’re not alone. Many home cooks don’t realize how versatile this one tool can be when it comes to saving time and eating healthier. Whether you’re trying to prep smoothies, sauces, or even full meals, a high-speed blender can take a lot of the effort out of the process.

    Meal prep doesn’t have to be overwhelming. And you don’t need a dozen gadgets or hours in the kitchen to get it done. With the right blender and a few simple tips, you can batch-cook or blend your way to easier, healthier meals—all without the stress.

    What You Can Actually Make When You Meal Prep with a Blender

    Most people think of smoothies—and yes, a high-speed blender is perfect for those—but meal prep with a blender goes far beyond breakfast drinks. A good blender can help you create a variety of healthy, prep-ahead staples that make weekday meals faster and more nutritious.

    If you’re new to batch cooking or just trying to make healthy eating easier, these ideas can help you get more out of the appliance you already own.

    Here are a few real-world meal prep staples you can make in your blender:

    • Green smoothies (prep ingredients in freezer bags, blend when ready)
    • Soups (blend roasted veggies into creamy purées)
    • Hummus and dips (store for the week in airtight containers)
    • Sauces and dressings (like pesto, vinaigrettes, or cashew cream)
    • Protein pancakes or batter (blend and store in fridge)
    • Overnight oats bases or fruit purées (for meal prep breakfasts)

    All of these can be batch-prepped, frozen, or stored in jars so you don’t need to cook from scratch every time you’re hungry.

    Take a look below for more in depth information on these.

    Green Smoothies:
    These are the classic go-to—and for good reason. You can pre-portion leafy greens, frozen fruit, seeds, and protein powder into freezer bags or jars, then dump them straight into the blender when you’re ready.

    Adding a high-speed blender to your meal prep routine means no more blending in batches or struggling with chunky textures.

    You get smooth, drinkable results every time, and cleanup takes less than a minute.

    Bonus: prepping smoothies ahead of time saves fridge space and makes it easy to start your day with something nutritious.

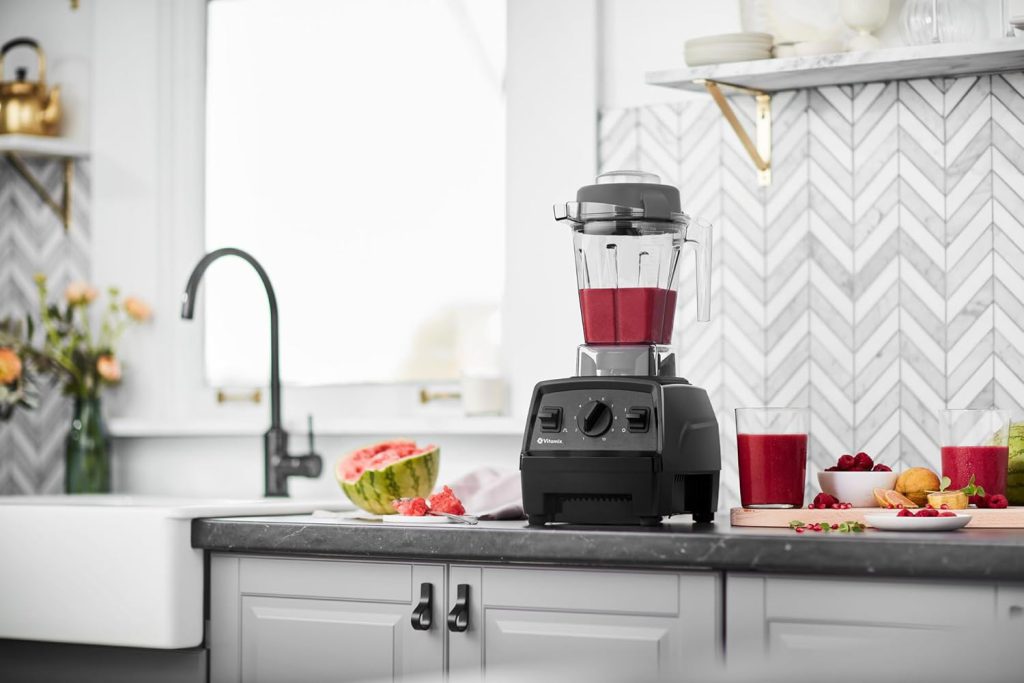
    Best High-Speed Blender for Meal Prep

    Soup

    Blenders aren’t just for cold drinks. You can roast a batch of vegetables—like carrots, sweet potatoes, or cauliflower—then blend them with broth and spices for creamy soups you can portion out and refrigerate or freeze.

    If you’re using a blender with heat-safe settings or friction heat (like a Vitamix), you can even blend and heat in one step. Soup is one of the best blender meal prep recipes because it stores well and can be reheated in minutes for lunch or dinner all week.

    Hummus and Dips

    Instead of buying store-bought versions full of preservatives, try making your own dips in a high-speed blender. Hummus, white bean dip, cashew queso, or avocado-based blends are simple to whip up and store in jars or containers.

    These work great as snack options, sandwich spreads, or veggie dip for lunches.

    Using your blender helps you control the texture and ingredients while making enough to last several days.

    Sauces and Dressings

    Blenders are perfect for prepping homemade sauces and salad dressings, especially when you want to avoid sugar or additives in store-bought options. You can blend up creamy dressings, nut-based sauces, or pesto in just a few minutes.

    Store them in small jars and use them throughout the week to make otherwise simple meals more flavorful and satisfying.

    Protein Pancake Batter

    Blending your pancake or waffle batter saves time and helps break down oats, cottage cheese, or banana if you’re using high-protein or gluten-free recipes. You can prep a big batch of batter on the weekend, store it in the fridge, and use it throughout the week.

    This method is great for busy mornings when you want something hot and healthy with minimal effort.

    Fruit Purées and Overnight Oat Bases

    Blenders make it easy to prep fruit purées or blend-ins for overnight oats, chia puddings, or yogurt bowls. You can also use them to create base mixtures (like blended oats, almond milk, and berries) and store them in the fridge in single-serve containers.

    It’s a simple way to speed up healthy breakfasts without losing variety.

    Once you see how many everyday foods you can prep with a blender, it becomes easier to rely on it as a core tool in your kitchen—not just a smoothie maker.

    And when you combine these blender basics with smart storage, it sets you up for faster meals, less stress, and better follow-through on your healthy eating goals.

    What Kind of Blender Works Best for Meal Prep?

    Not all blenders are built the same—especially if you plan to use them consistently for weekly prep.

    To truly simplify your kitchen routine, look for a high-speed blender for meal prep that has:

    • Power (at least 1000 watts or more for raw veggies and nuts)
    • Capacity (64 oz or larger for batch blending)
    • Durability (designed for daily or frequent use)
    • Multiple speeds or pre-set programs (for smoothies, soups, etc.)

    Personal-size or bullet-style blenders are great for single smoothies, but they won’t cut it for real batch cooking. If you’re unsure what to buy, check out our roundup of the best high-speed blenders for meal prep.

    Prep-Friendly Blender Tips for Beginners

    If you’re still not sure how to use a blender for meal prep in a way that feels manageable, you’re not alone. Knowing what to make is one thing—but knowing how to prep, store, and clean up without getting overwhelmed is where most people give up.

    Here are some beginner-friendly tips to help you stay consistent, save time, and avoid that “why is this so messy?” feeling.

    Start with one blender task per prep day.

    You don’t have to make everything at once. Try choosing one task—like blending smoothie packs or prepping soup—and do just that during your weekly prep. Once it feels easy, add more items later. This keeps you from burning out or overcomplicating your process.

    Use freezer bags and jars for storage.

    Blended foods store surprisingly well in jars, reusable containers, or silicone freezer bags. Soups and sauces can be portioned out and frozen flat. Smoothie packs can be stacked vertically in the freezer with all ingredients pre-measured.

    Having containers that work for both freezing and reheating is one of the easiest ways to make blender meal prep feel like less work.

    Layer your ingredients the smart way.

    Always start with liquids first (like water, nut milk, or broth), followed by soft ingredients (yogurt, fruits), and then hard or frozen items last. This layering technique helps the blender process more evenly and cuts down on having to stop and stir.

    Some high-speed blenders even come with tamper tools or presets that make this even easier.

    Clean it immediately after use.

    The number one reason people stop using their blender? They dread the cleanup. But here’s a trick: just add warm water and a drop of dish soap, then blend on high for 30 seconds. Rinse, and you’re done.

    Making cleanup part of your prep flow means your blender stays ready for the next batch.

    Stick with simple, repeatable recipes.

    As you build your blender skills, find 3–5 core recipes you love (like a green smoothie, veggie soup, hummus, pesto, or overnight oat base). Rotate them each week so meal prep feels doable—not like another Pinterest rabbit hole.

    When you’re just starting out, the key to using a blender for meal prep is building habits that feel sustainable.

    Small wins—like a freezer full of smoothie bags or a clean blender on the counter—lead to bigger ones over time.

    Quick Blender Meal Prep Routine You Can Try

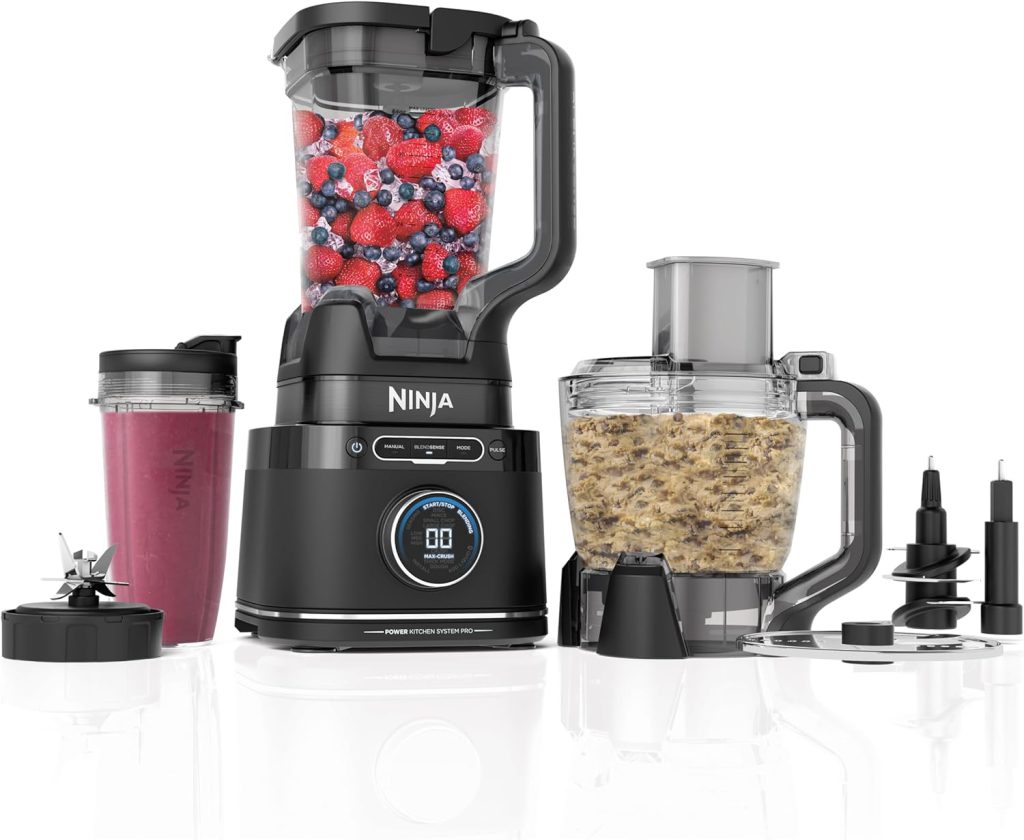
    Ninja=TB401-1

    If you’re just learning how to use a blender for meal prep, the best way to get started is to build a simple routine you can repeat each week. No complicated recipes. No five-appliance chaos. Just one tool—your high-speed blender—and a few steps that save time, cut stress, and get healthy food ready fast.

    This beginner-friendly routine uses common ingredients and covers multiple meals. You can scale it up for batch cooking or keep it light for the week ahead.

    Step 1: Prep Your Smoothie Bags

    Gather your ingredients—leafy greens, berries, banana slices, protein powder, flaxseeds—and portion them into individual freezer bags or jars. Label them if needed. In the morning, just add liquid and blend. This alone can save 10–15 minutes a day.

    Tip: If you’re prepping for more than three days, freeze to preserve freshness and nutrients. It’s one of the easiest ways to use your blender for meal prep without any daily chopping.

    Step 2: Make a Big Batch of Soup or Sauce

    Roast vegetables like carrots, cauliflower, or sweet potatoes. Once they’re cooled, blend them with broth, garlic, and seasonings for a creamy soup base. Or, toss together basil, olive oil, lemon juice, and pine nuts for a simple pesto.

    Divide the finished blend into meal prep containers or mason jars. Now you have multiple meals’ worth of nourishing, ready-to-go components.

    Step 3: Blend a Protein Dip or Spread

    Using a blender for hummus, white bean dip, or cashew spread gives you a healthy snack or sandwich filler that’s easy to portion. Store in airtight containers in the fridge for up to 5 days. These spreads are great for quick lunches, snack boxes, or even wraps.

    Step 4: Rinse, Repeat, and Rest

    Blender cleanup is fast—so do it right away. Add warm water and a drop of soap, blend, and rinse. Wipe down your prep area, and you’re done.

    This whole routine can take 30–45 minutes and cover breakfasts, snacks, and lunches for several days. Over time, you’ll find your rhythm and even swap in new recipes without starting from scratch.


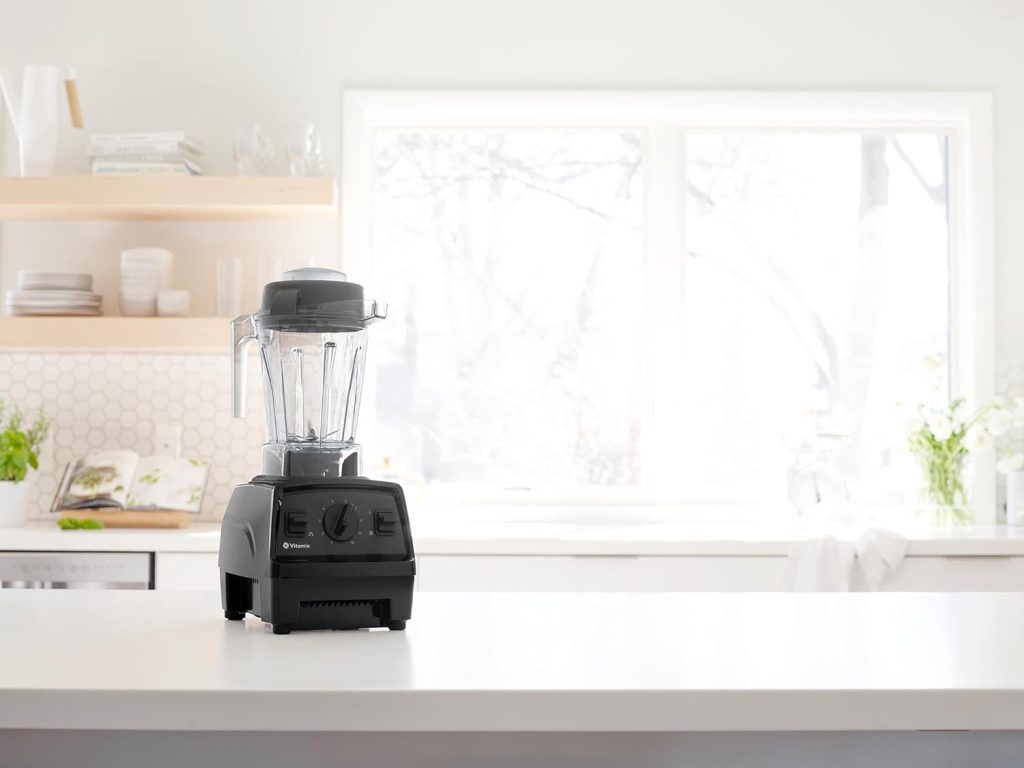
    Common Questions About Using a Blender for Meal Prep (and a Little Encouragement)

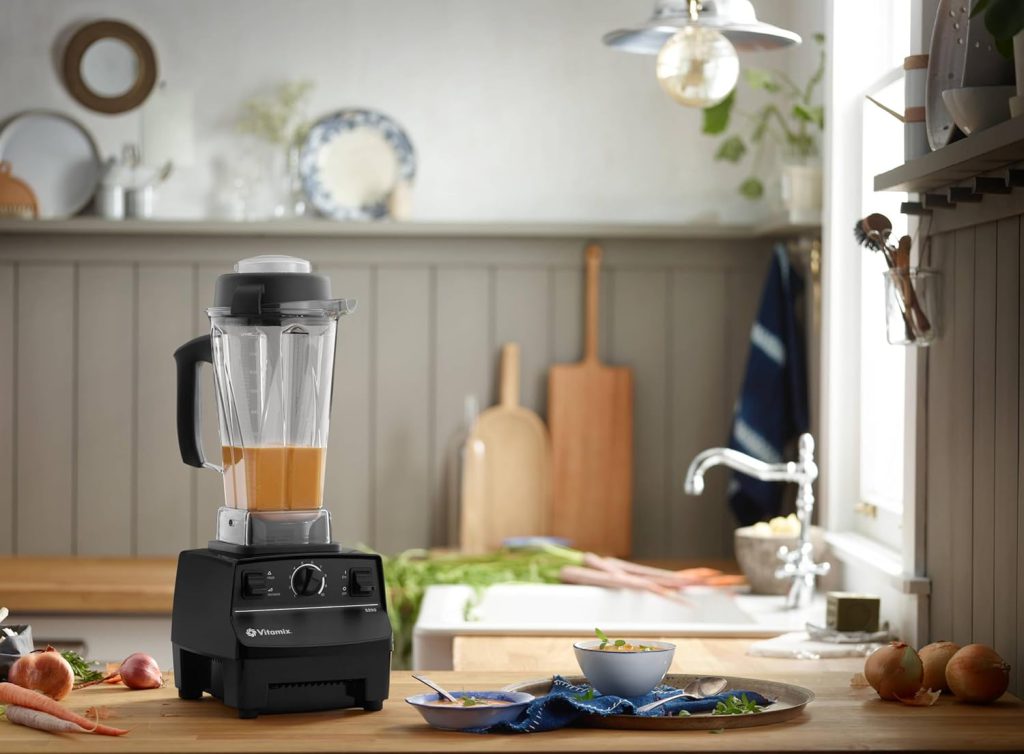
    Vitamix 5200-9

    Even if you understand the basics of how to use a blender for meal prep, it’s normal to have a few lingering doubts. Whether you’re worried about making a mess, doing it wrong, or just not having the “right” tools, these quick answers can help you move forward with confidence.

    Do I need a fancy blender to get started?

    Nope. A high-speed blender will give you the best results with tough ingredients (like nuts or leafy greens), but if you’re just getting started, use what you have. You can still make soups, smoothies, dips, and sauces—just be mindful of batch size and texture.

    Can a blender really replace a food processor?

    In many cases, yes. A high-powered blender can handle most of the same tasks—like pureeing, chopping soft ingredients, or even mixing dough. If you’re doing very fine chopping or slicing, a food processor may still be helpful, but you don’t need both to start prepping smarter.

    How long does blender meal prep take?

    With a simple routine, 30–45 minutes once a week is enough to prep smoothies, soup, sauces, and snacks. As you build your system, you’ll get faster and more efficient. The key is consistency—not perfection.

    What if I don’t have time to prep everything at once?

    No problem. Start small. Blend just your smoothie bases this week. Next week, add in soup. Over time, you’ll build a system that fits your life—not the other way around.

    Is it really worth the effort?

    Yes. Having prepped, healthy food ready to go is a game-changer when you’re tired, busy, or just trying to eat better without overthinking it. Using your blender for meal prep is one of the easiest ways to reduce daily cooking stress and eat well more consistently.

    Conclusion: Start Small, Blend Big

    Learning how to use a blender for meal prep doesn’t have to be overwhelming. You don’t need to prep a week of meals in one day or have the perfect kitchen setup.

    What matters most is starting with just one or two blender-friendly habits—like freezing smoothie bags or blending a batch of soup—and building from there.

    A good blender can help you eat healthier without spending hours in the kitchen or juggling five different appliances. It simplifies cleanup, reduces stress, and gives you fast access to nourishing, real food when you need it most.

    ~April

    🧭 Want to take the guesswork out of choosing the right blender? Check out our post on the best high-speed blenders for meal prep and find the one that fits your life and health goals.